
InspectAPedia® FREE Encyclopedia of Building & Environmental Construction, Diagnosis, Maintenance & Repair |
Question? Just ask us! InspectAPedia
|
 Water Softener Cleaning & Sanitizing Procedures
- POST a QUESTION or COMMENT about Cleaning & Sanitizing Water Softeners & About using a sanitizer in water softeners and the effect of sanitizers on septic systems
Guide to Water Softener Cleaning & Sanitizing:
This article provides an owner's guide to water softener cleaning, and sanitizing - two steps in keeping a water conditioner working properly.
We discuss the use of various chemicals & cleaners to sanitize or clean out water softeners and their brine tanks, and we comment on the effect of such chemicals on septic systems.
We discuss the formation of salt crust in the brine tank, the accumulation of dirt & debris in the brine tank, & how to remove these problems & contaminants in a water conditioner
. We also discuss using iron removing products or other chemicals to clean & sanitize a water softener.
InspectAPedia tolerates no conflicts of interest. We have no relationship with advertisers, products, or services discussed at this website.
Owner's Guide to Cleaning & Sanitizing the Water Softener / Water Conditioner Brine Tank
 Here we divide water softener cleaning into these sub-topics:
- How to inspect and correct salt crust or bridging in the brine tank or salt keeper.
- How to empty, take apart, and clean a water softener, focusing on the brine tank since you won't normally disassemble the resin tank.
- How to disinfect or sanitize a water softener to remove or kill harmful bacteria or other pathogens that may be found in the equipment
According to several water softener manufacturer's manuals, most water softener materials such as the resin tank and brine tank and controls do not support bacterial growth, but disinfection may be appropriate when putting a new or previously-winterized softener into service.
In addition, a softener can become contaminated by bacterial from the water supply itself.
Really? In fact pathogenic bacteria growth in water softeners is well-known, has been widely studied, and is cited in references we give at the end of this document.
Fortunately it is quite possible, and actually easy to disinfect or sanitize a water softener when needed.
... the standard for the water softeners includes a test for contamination with Pseudomonas aeruginosa which has to be disinfected during the regeneration phase. This is possible by sanitizing the resin bed during regeneration by producing chlorine. (Hambsch 2004)
You should therefore disinfect a new water softener, one that has required cleaning, one that has been out of service for some time, or one that has otherwise become dirty or contaminated.
[Click to enlarge any image]
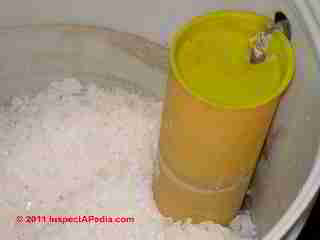
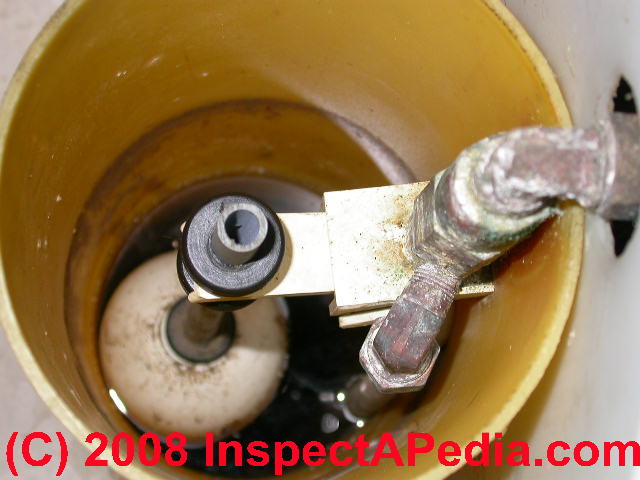
Our photo above shows the interior of a water softener salt tank. Notice that brown soil line marking where dirty water has risen in this tank? Our photo at right shows a close up of the inside of the float tube in the water softener tank - it's the same yellow tube you see in the left hand photo.
Although the salt you dump into the water softener's salt reservoir tank looks clean, the salt you have purchased is usually mined from the earth and will contain small amounts of soil and other debris. The debris accumulates in the water softener salt tank over time and can become filthy and possibly unsanitary. Debris in the salt tank can also clog water softener controls.
We recommend waiting until the salt in the tank has been consumed, or nearly all consumed. This will leave a water softener salt reservoir tank which is nearly empty and which is quite light, making it easy to disconnect, carry outside, and hose out.
Be careful not to break the float controls in the softener tank, but if you do break something or if you find that the float no longer moves freely, this part can and should be replaced.
Check the water conditioner brine tank for salt crusting or salt bridging
 If a water softener is not softening the water and appears to have power and runs through regeneration cycles, taking a look into the salt or brine tank can fool you.
The tank can look "full" of salt crystals or pellets but if the top of the salt has crusted or formed a hard bridge stuck to the sides of the brine tank, in fact no salt may be dropping into the tank water to form a brine solution.
First though, to avoid some embarrassment, check that the water softener is not in "bypass" position. Now take a look in the salt tank.
A salt crust may form on the sides or across the whole interior surface of the brine tank. Periodically you should break up and remove this scale as it may prevent proper water softener operation.
For example a thick salt crust may prevent salt in the tank from falling freely to the tank bottom where it is needed to mix with water during the regeneration cycle.
To avoid salt bridging or crust formation or to break up the salt bridge Sears advises:
Sometimes, a hard crust or salt “bridge” forms in the brine tank. It is usually caused by high humidity or the wrong kind of salt. When the salt “bridges,” an empty space forms between the water and the salt. Then, salt will not dissolve in the water to make brine.
Without brine, the resin bed is not recharged and hard water will result. If the storage tank is full of salt, it is difficult to tell if you have a salt bridge.
A bridge may be underneath loose salt. Take a broom handle, or like tool, and hold it next to the water softener. Measure the distance from the floor to the rim of the water softener.
Then, gently push the broom handle straight down into the salt. If a hard object is felt before the pencil mark is even with the top, it is most likely a salt bridge.
Gently push into the bridge in several places to break it. Do not use any sharp or pointed objects as you may puncture the brine tank. Do not try to break the salt bridge by pounding on the outside of the salt tank. You may damage the tank. - "Kenmore Model / Modelo No. 625.384200 Water Softener with Ultra Flow Valve retrieved 4/20/14, original source: http://c.sears.com/assets/own/896152e.pdf [copy on file]
If the brine tank water or brine levels are too low or too high or brine is not being pumped into our out of the brine tank,
see BRINE TANK DIAGNOSIS & REPAIR - home
Check the water softener brine tank for dirt and debris build up
 When salt is low in the tank check for an accumulation of dirt and debris.
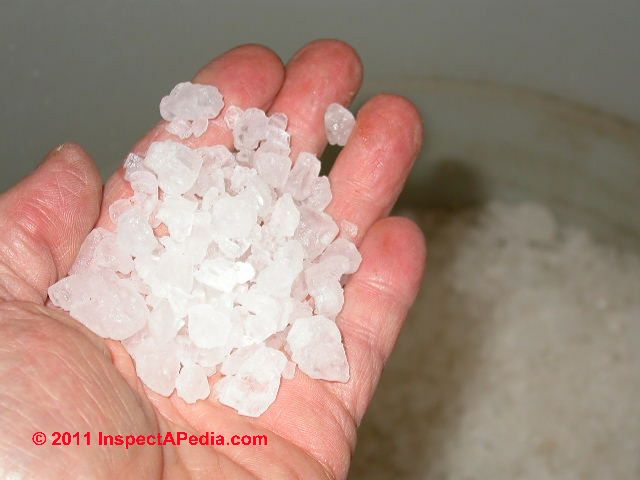
Salt is a naturally-mined mineral that is dug out of the ground. Although it looks (and is) pretty clean when you dump salt into your brine tank, a bit of soil (earth, dirt) comes along with it and may accumulate in the bottom of the brine tank.
So even though the salt looks clean and beautiful (our photo at left) when you are pouring it into the brine tank, in fact it may contain soil particles or other debris.
Because soil particles (dirt) does not dissolve and pass out of the system during the backwash/regeneration cycle, it accumulates in the bottom of the water softener brine tank where eventually it looks like muddy water.
You won't see this dirty crud because it's always hidden by the new salt you keep pouring on top of what's already in the brine tank - until you allow the water softener to "use up" its salt enough that you're looking at a nearly-empty brine tank.
When your water conditioner's brine tank looks dirty just empty it out and wash its interior with an ordinary household cleaner or detergent.
See details on brine tank cleaning at
at SOFTENER BRINE TANK CLEAN & DISNIFECT
Watch out: Some water softer companies such as Sears advise against using rock salt, recommending pellet salt or similar products because some rock salt contains soil and other debris that can clog the water softener.
Use NUGGET or PELLET water softener salt. DO NOT use rock salts, as they have dirt and sediments that will stop the softener from working. To maintain optimum performance of your water softener, the salt tank should be cleaned out every 2 to 3 years. - "Kenmore Model / Modelo No. 625.384200 Water Softener with Ultra Flow Valve retrieved 4/20/14, original source: http://c.sears.com/assets/own/896152e.pdf [copy on file]
Separately you may need to disinfect or sanitize the softener resin tank - a procedure that also can sanitize the water in the bottom of an in-use brine tank.
See details on resin and brine tank disinfection or sanitizing at
at SOFTENER RESIN TANK SANITIZE / DISINFECT
How to Clean the Brine Tank / Salt Tank of a Water Softener
 How to Disassemble & Clean a Water Softener Salt Salt Storage Tank / "Salt Keeper"
These instructions presume that your water conditioner (water softener) uses a separate salt or brine tank. The following instructions are adapted and expanded from advice from Culligan and from American Aqua's cleaning instructions for the Hellenbrand H-100 Water Softener.
These and other water softener draining and winterizing instructions organized by brand and model water softener are found
at WATER CONDITIONER / SOFTENER MANUALS
There are a lot of steps in this procedure but don't be discouraged. We've broken down the brine tank cleaning procedure in to small, easy-to-follow steps. It's not technically difficult.
You will need these tools to clean out the salt storage tank
- A scoop to remove salt
- A clean bucket
- A phillips-head screwdriver
- A garden hose
- A scrub brush or sponge
Steps in Dis-Assembling & Cleaning and Sanitizing a Water Softener & Its Brine Tank
- Turn off electrical power to your water softener - or check the control to be sure that the water softener won't be starting a backwash/regeneration cycle while you are in the middle of cleaning out the salt tank.
[You can leave power on if you're sure you are not going to encounter a regen cycle during your cleanout. Leaving power on avoids having to later re-set the water softener timer or clock.] - Remove the cover from the salt storage tank or sat keeper.
- Remove the cap from the brine valve chamber. The brine valve chamber is the smaller diameter vertical tube that you will find inside the salt tank when you have removed the tank's cover.
Our photo (above-left) shows the interior of a salt tank or "brine tank" with the cover removed. The yellow tube is the brine valve chamber. Brine valves are discussed and illustrated - at SALT DOSE SETTING, WATER SOFTENER.
[Click to enlarge any image or table]
- Scoop out and Save clean salt: if your salt tank contains a volume of clean salt you can scoop out the salt and save it in a clean container such as a plastic bucket or even in clean dry grocery bags if needed.
If the salt at the bottom of the tank and if it is visibly dirty we recommend that you remove all of it and throw it away.
Watch out: Don't dump unused salt on the ground - you will kill your plants. - Clean out remaining salt and debris from the bottom of the salt chamber using your scoop.
Since you have removed the brine valve assembly, your salt tank may at this point be simply a free-standing plastic container, so you can tip it or move it if that helps clean out its contents. - Disconnect & remove the brine float valve (the assembly inside the vertical yellow plastic tube in our photo (left) out of the valve chamber (the yellow tube) and place it aside in an "upright" position.
You will need to disconnect the brine tank float assembly from the tubing that connects the brine tank to the water softener before the assembly can be removed.
We brush off any dirt and debris and wash the brine tank float assembly in clean water, making sure that it dry and contains no water before leaving it upright for storage. - If the water softener uses an air check valve on the brine tube in the brine tank that too deserves inspection and cleaning.
See WATER SOFTENER BRINE TANK AIR CHECK VALVE for details
Also see WATER SOFTENER CHECK VALVE STUCK as a cause of air discharge at fixtures - Remove the brine tank overflow elbow or fitting. You will need to hold the fitting inside the brine valve well (large diameter yellowish plastic tube in our photo above) in order to loosen the overflow fitting lock nut on the exterior of the salt tank.
- Remove the brine chamber itself from the salt tank.
You will probably have to remove a retaining screw and nut that hold the chamber to the side of the salt tank. - Remove the salt plate at the bottom of the brine tank.
- Remove sludge and debris from the salt tank bottom & wash out the salt tank:
Place the salt tank on its side [do this outdoors or at an indoor floor drain if you must work inside] and using your garden hose and sprayer, spray out all of the residue or debris that remain inside the salt tank.
We perform this operation in our gravel driveway in an area where we don't want weeds and grass to grow since we expect that the salt may kill grass anyway.
Also clean the salt plate or grid that you removed from the bottom of the salt tank.
Also clean the brine chamber.
Wash these parts out with clean water and use a clean cloth to dry them.
For a cleaning solution you can use 2 tablespoons of liquid dish soap in 2 gallons of fresh clean water for the cleaning process. This solution is then emptied out of the brine tank. - If the water softener has been exposed to flooding or contamination by bacteria etc. disinfection or sanitizing may be needed.
Any household cleaner spray that includes a disinfectant should be sufficient for cleaning and sanitizing the cleaned parts that we have described above.
Or prepare a disinfection solution of 3 gallons of clean water and 1/4 cup of household bleach (5% sodium hypochlorite). Let that disinfection solution soak in the cleaned brine tank and tank float well for 15 minutes to 1/2 hour.
Then empty that disinfection solution and rinse the brine tank again with fresh clean water.
Watch out: none of the brine-tank cleaning discussed above will have addressed any possible bacterial contamination of the resin and resin tank portion of your water softener.
The normal regeneration cycle of a water softener rinses debris and minerals out of the resin tank but does not disinfect or sanitize it. Bacteria can enter the water softener from the building water supply.
To sanitize the water softener resin tank (not the brine tank),
see SANITIZE the BRINE TANK & WATER CONDITIONER - If you plan to leave the water softener out of use during freezing weather,
see WATER SOFTENER / TREATMENT TURN OFF then return to this water softener cleaning article.
Steps to Re-Assemble the Cleaned Brine Tank or Salt Keeper
Now we are ready to put the water conditioner salt tank and its controls back together.
- If you left the water softener out of commission during freezing weather,
see DE-WINTERIZE WATER SOFTENER then return to this water softener cleaning article. - Return the salt tank to its original location and stand it upright.
- Replace the salt plate in the bottom of the salt tank.
Watch out: If you forgot to clean this or any other components, clean them and dry them before continuing to re-assemble the brine tank. - Replace the brine valve chamber in position and secure it to the salt tank with the screw and nut you removed earlier.
If that hardware has become corroded and difficult to re-use it can be replaced. - Replace the brine valve into the brine valve chamber and replace the brine valve chamber cap. Inspect the brine valve assembly before returning it to its chamber.
If it is dirty or if you find broken parts or parts that are not moving freely those parts may be cleaned or replaced. - Put water into the bottom of the salt tank - typical instructions call for 4-6 inches of water in the bottom of the tank.
Most water softeners will, at the next regen cycle, leave some water in the brine tank to dissolve salt for subsequent regen cycles. - Fill the salt tank with salt to about 3-inches from the tank top edge.
Be careful not to spill salt into the separate, smaller-diameter brine valve chamber - that's why it's important to keep the cap on that chamber.
Salt falling into the brine valve chamber will interfere with proper movement of the brine valve float and valve. - Put the cover back onto the salt tank.
- Turn the electrical power back on at your water softener if you turned it off earlier. If you turned off power or pulled the plug you may also need to re-set the water softener timer or clock to the correct time or position.
- Run a normal or manual regeneration cycle of the water softener.
See WATER SOFTENER MANUAL REGENERATION
How to Use a Water Softener Cleaning Product or Treatment
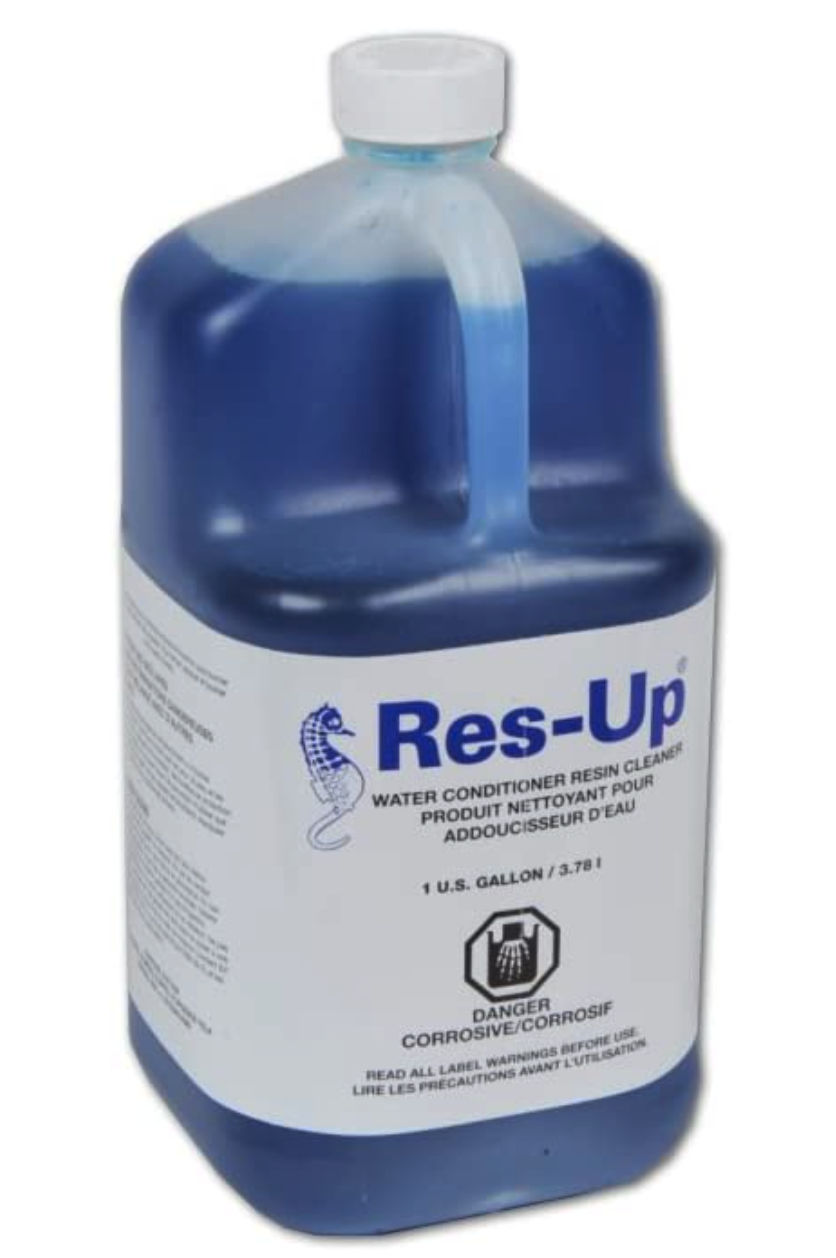
Question: our water is blue after use of Res Up backwash cleaning solution
After my system goes through the backwash and regain cycle, I get about 5 gallons of blue water.
I was told to use a chemical called Res Up which I believe is a back wash cleaning solution? I also believe this is the blue tint in the water. Any idea why this is happing and how I can mitigate it? Thanks - Mark Smith 2021/12/15
This Q&A were posted originally
at WATER SOFTENER OPERATING CYCLES
Moderator reply: - how to use a water softener treatment chemical or cleaner: use the proper dose
@Mark Smith,
What I've done is to run an extra water softener regen cycle but as soon as the cycle starts I use the softener controls to skip ahead to the final rinse - that is, skip the brine tank regen part of your cycle and go to the final rinse.
The exact steps to skip some softener regeneration cycle steps to get to the rinse varies by water softener brand and model. Often it's just pressing an "up" key on a digital display. On a now-antique mechanical-clock timer based softener control we had to turn the dial by hand .
For odors or taste left in the water softener after cleaning you might also try simply running cold water until the odor or color or taste is gone.
Reader Follow-up: how to set up a Lancaster water softener to automatically run extra rinse after using a softener cleaning product?
@Inspectapedia Com Moderator, That makes sense, thanks. Any idea if there is a way to set a Lancaster system up to do that automatically? It currently runs its regain cycle at like 2 am.
Moderator Reply:
@Mark,
No, do not try to automate an extra regen final wash step. By definition an "Extra" regen cycle or one of the steps in that cycle (the final wash) is something that should only be run manually.
But if you are having a consistent problem with your water softener's effect on the water after a normal regen cycle then you need to review and adjust the normal water softener operating steps such as the salt dose, and you need to review with great care the instructions for safe and proper use of any add-on chemicals or treatments.
To install and use an automatic softener cleaner dosing device see
these RES-UP WATER SOFTENER CLEANER FEEDER INSTRUCTIONS [PDF] Lancaster Water Group, 1340 Manheim Pike, Lancaster, PA 17601 USA, Tel: 1.800.442.0786
Watch out: You'll see a hint in those instructions that using the proper dose for your specific water heater is important.
Excerpts:
RES-UP CLEANER is formulated to penetrate bead pores and loosen up and float away iron and other impurities. Res-Up ® Cleaner will also keep softener components and control valve parts free of build-ups which impair proper functions.
But you CAN automate the use of your water softener cleaning treatment if that's really necessary.
RES-UP ® FEEDER is a programmed feeder which meters the proper amount of Res-Up ® Cleaner each time the resin bed is regenerated. The Res-Up ® Feeder can be programmed for the size of the resin bed and the amount of iron and impurities in the raw water.
Watch out: This cleaner contains a caustic agent (phosphoric acid and Alkyl (C12,C14,C16) Dimethyl Benzyl Ammonium Chloride); this and some other cleaning products include chemicals that may be unsafe if not handled or dosed properly, harmful if swallowed and can cause burns on the skin or injury to the eyes. Be sure to read and follow the manufacturer's instructions .
If you or other readers need to consult Lancaster, the provider of your brand and model water softener,
Contact: Lancaster Water Group, and find Lancaster water softener manuals at the links we provide in our index to water softener manuals found at
WATER CONDITIONER / SOFTENER MANUALS
or go directly to Lancaster Softener Manuals found on that page in our alphabetical listings under
- L -
Water Softener Cleaning Resources / Research
- [1] North Dakota Standards for Water Softeners, North Dakota General Authority Law, Chapter 62-04-08, Water Softener Units http://www.legis.nd.gov/information/acdata/pdf/62-04-08.pdf. "The objective of this chapter is to provide a standard of quality, capacity,
and performance for water softener units.
Water softener performance is to be based upon referee tests procedures described in section 62-04-08-09." - [2] Nitto Denko, Hydronautics, Hydranautics
401 Jones Rd.
Oceanside, CA 92058
Tel: (760) 901-2500
Fax: (760) 901-2664
e-mail: info@Hydranautics.com Technical Service Bulletin TSB107.20, July 2010, web search 08/29/11, original source: /www.membranes.com/docs/tsb/tsb107.pdf
Quoting:
This is a lower pH cleaning solution (natural pH is between pH 4 and 6. No pH adjustment is required) 1.0% (w) of Na2S2O4 (sodium hydrosulfite).
It is useful in the removal of metal oxides and hydroxides (especially iron fouling), and to a lesser extent calcium sulfate, barium sulfate and strontium sulfate.
Sodium hydrosulfite is strong reducing agent and is also known as sodium dithionite. The solution will have a very strong odor so proper ventilation is required. - [3] Pro Products, LLC, 502 Incentive Dr., Fort Wayne IN 46825, tel: 800-285-9176, website: www.proproducts.com- web search 08/29/2011, adapted from original source: www.proproducts.com/Libraries/MSDS/Rust_Out.sflb.ashx
- [8] "Commercial Water Softener Installation and Operating Instructions", IBC Filtration & Water Treatment Products (Australia) for commercial, industrial and residential application www.ibcwater.com.au (07) 3219 2233
- [9] CULLIGAN SYSTEM 19 AND 23 WATER CONDITIONERS (FILAMENT WOUND TANK) INSTALLATION AND OPERATING INSTRUCTIONS [PDF] Cat. No. 00-8816-57 (Printed 6/89), Culligan INternational Company, Northbrook IL. 60062, San Bernadino CA 92402, Culligan NV/Brussels, Belgium, Culligan Italiana SpA/Bologna, Italy, Culligan of Canada, Ltd., Mississauga, Ontario, Canada L5K 1A5
- [10] Culligan Mark 10 Water Softener 1994-1998 Installation and Operating Instructions (covering models manufactured after 1995) (1-96) 01881948.pdf available from www.culligan.com
- DeSilva, Frank, "Resin Sterilization, Effective methods for cleaning biologically fouled resin" [web article], WQP, Water Quality Products Matazine, ResinTech, Inc., West Berlin, N.J. Tel: 760.809.4864, E-mail: fdesilva@resintech.com.
Mr. DeSilva is national sales manager for ResinTech, Inc. retrieved 2018/12/05 original source: https://www.wqpmag.com/resin-sterilization
- Lancaster Water Group, RES-UP® WATER SOFTENER CLEANER FEEDER USE INSTRUCTIONS [PDF] Lancaster Water Group, 1340 Manheim Pike, Lancaster, PA 17601 USA, Tel: 1.800.442.0786 - retrieved 2021/12/22 original source: lancasterwatergroup.com/wp-content/uploads/Product_Manuals/Rectangular_Res-Up-Feeder_Instructions.pdf
- Lancaster Water Group, RES-UP WATER SOFTENER CLEANER MSDS [PDF] (2013) as listed by Home Depot 2021/12/22
 ...
... 
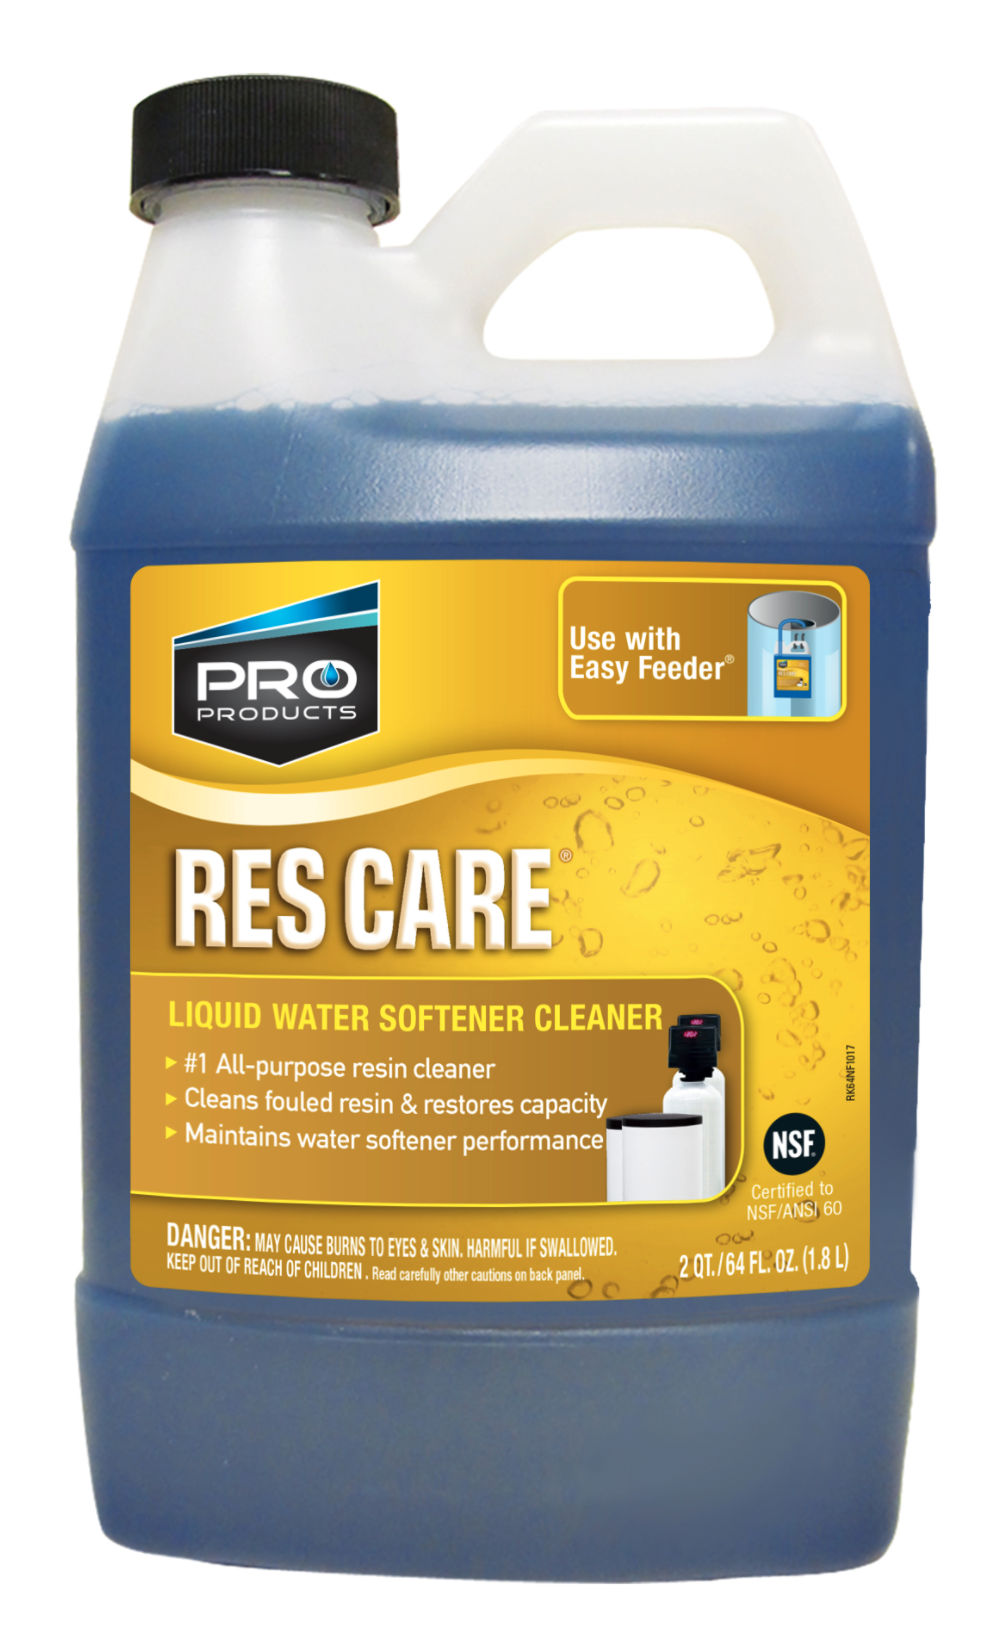
- Pro Products, Res Care® Liquid Water Softener Cleaner, [illustrated above] Pro Products LLC
7201 Engle Road
Fort Wayne, IN 46804-5875 US
Tel: 260-483-2519 - 800-285-9176, Web: https://proproducts.com/product/res-care/
Website excerpts:
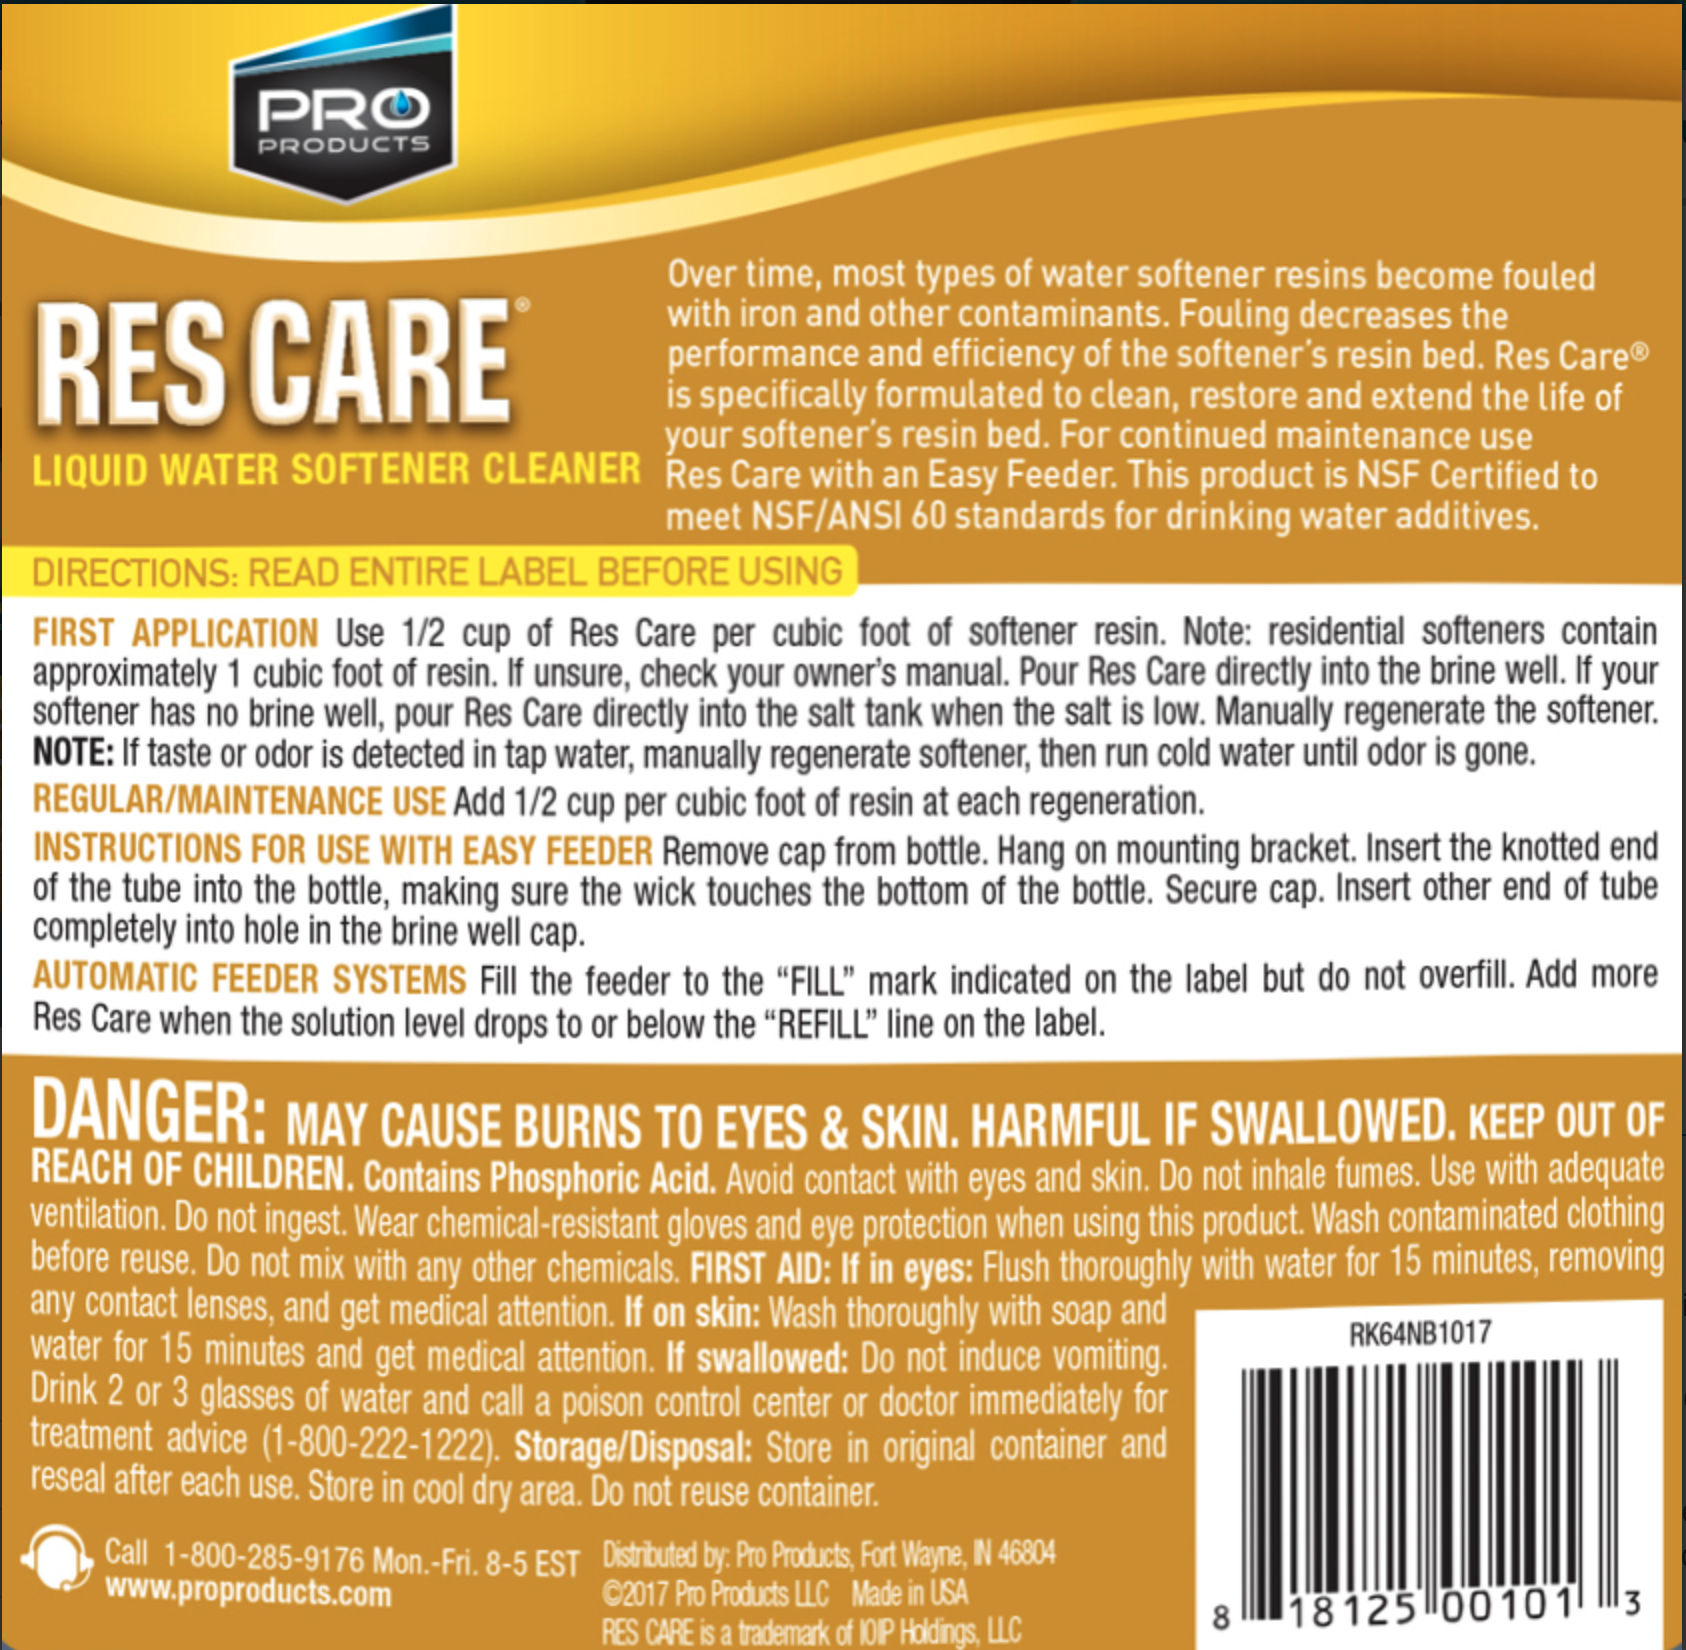
Pro Res Care is a specially formulated liquid resin cleaner designed to rid the softener of contaminants that salt alone cannot remove. Regular use of Res Care resin cleaner will restore the softener beads and control valve parts back to peak efficiency and maintain the life of the unit. For best results, use an Easy Feeder for continued defense of contaminant build-up. 99% of water softening occurs inside of the resin beads. Salt only washes away the calcium but leaves the iron, manganese, silt, metal particles and organic compounds. Over time, these will coat the resin bead causing inefficiencies or total failure. **Pro Res Care is NSF Certified to meet NSF/ANSI Standard 60 for drinking water additives.
Excerpt from label instructions:
FIRST APPLICATION Use 1/2 cup of Res Care per cubic foot of softener resin. Note: residential softeners contain approximately 1 cubic foot of resin. If unsure, check your owner's manual. Pour Res Care directly into the brine well. If your
softener has no brine well, pour Res Care directly into the salt tank when the salt is low. Manually regenerate the softener.
NOTE: If taste or odor is detected in tap water, manually regenerate softener, then run cold water until odor is gone.
REGULAR/MAINTENANCE USE Add 1/2 cup per cubic foot of resin at each regeneration.
- Pro Products, RES CARE® LIQUID WATER SOFTENER CLEANER MSDS [PDF] (2011)
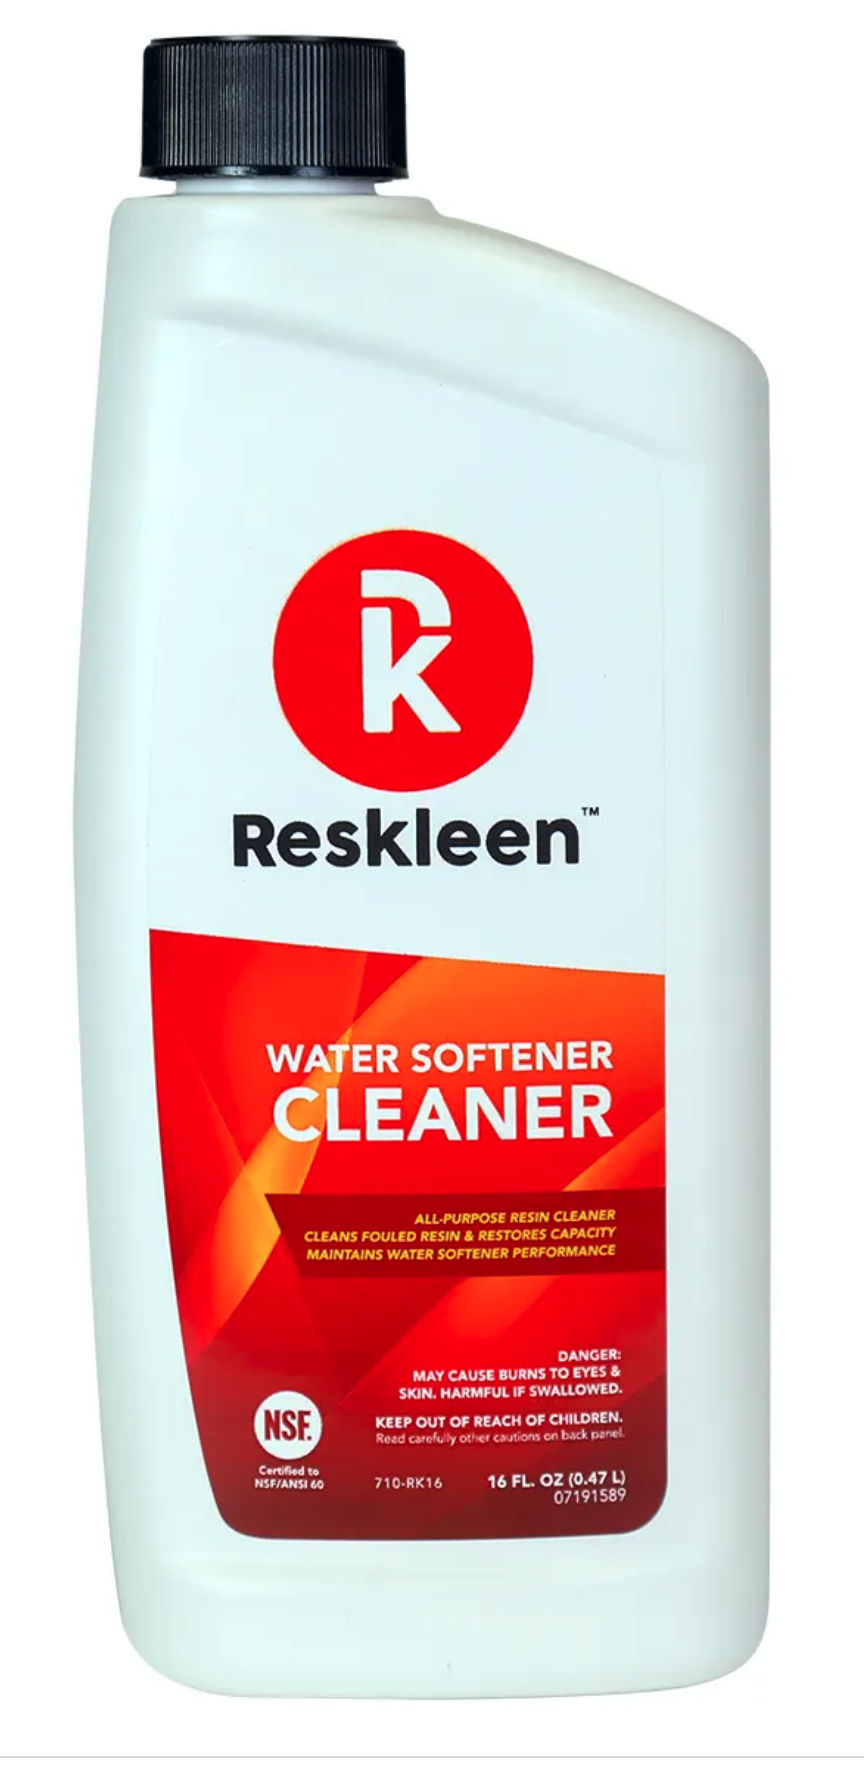
- U.S. Water Systems, RESKLEEN Resin Cleaner, US Water Systems, 1209 Country Club Rd., Indianapolis IN 46234 Web: Tel: (sales) 1-855-923-6913 (support) 1.800.390.5936
- [10] "Non electric water softener, Installation and Operating Instructions", IBC Filtration & Water Treatment Products (Australia), op.cit.
- [14] "Water Softener Twin Tank Installation and Operating Instructions", IBC Filtration & Water Treatment Products (Australia), op.cit.
- [15] Water Softeners, CMHC, Canadian Mortgage and Housing Corporation, cmhc-schl.gc.ca/en/co/maho/wawa/wawa_005.cfm - October 2008. Canada Mortgage and Housing Corporation acknowledges the contribution of Health Canada to the development of this document. For further questions regarding water treatment and water quality, contact Health Canada at watereau@hc-sc.gc.ca or call 613-957-2991 or 1-866-225-0709.
- [19] KENMORE WATER SOFTENER USE & CARE GUIDE, Model 635.383000 (with a high flow valve), retrieved 2/14/2013, original source: http://c.sears.com/assets/own/896150e.pdf
- [20] Michele Hébert WATER SOFTENERS ANNUAL MAINTENANCE [PDF] University of Fairbanks Cooperative Extension, HCM-2020, January 2011
- Additional water softener instruction manuals are
at WATER SOFTENER MANUALS - Additional citations are atReferences or Citations at the end of this article
Sanitize a Water Softener or Water Conditioner Resin Tank
This procedure, now moved to a separate page
at SOFTENER RESIN TANK SANITIZE / DISINFECT , gives step-by-step details of how to disinfect or "sanitize" the resin tank and also the bottom of an in-use brine tank without removing the salt.
Disinfect or Sanitize a New Water Softener Installation
You should sanitize a new water softener. Details are now found
at SANITIZE NEW WATER SOFTENER
Cleaning & Sanitizing Water Softeners & Using a sanitizer in water softeners - the effects of sanitizers on septic systems
This topic moved to its own page at WATER SOFTENER SANITIZER IMPACT on SEPTICS
Where to Find Water Softener Cleaning Products
This discussion moved to a new web page at WATER SOFTENER RESINS & CLEANING COMPOUNDS
Iron & Sediment n Water Softeners - removal
Please see WATER SOFTENER IRON & SEDIMENT REMOVAL
...
Continue reading at WATER SOFTENER MANUAL REGENERATION or select a topic from the closely-related articles below, or see the complete ARTICLE INDEX.
Or see WATER SOFTENER CLEANING FAQs - questions and answers posted originally on this page
Or see these
Recommended Articles
- WATER CONDITIONER / SOFTENER MANUALS
- WATER SOFTENER CLEANING & SANITIZING
- WATER SOFTENER OPERATING CYCLES
- WATER SOFTENER MANUAL REGENERATION
- WATER SOFTENING METHODS - OTHER
- WATER SOFTENER / TREATMENT TURN-ON - returning a water softener to service
- WATER STAINING CONTAMINANTS
- WATER TREATMENT EQUIPMENT DISINFECTION
Suggested citation for this web page
WATER SOFTENER CLEANING & SANITIZING at InspectApedia.com - online encyclopedia of building & environmental inspection, testing, diagnosis, repair, & problem prevention advice.
Or see this
INDEX to RELATED ARTICLES: ARTICLE INDEX to WATER TREATMENT SYSTEMS
Or use the SEARCH BOX found below to Ask a Question or Search InspectApedia
Ask a Question or Search InspectApedia
Questions & answers or comments about Cleaning & Sanitizing Water Softeners & About using a sanitizer in water softeners and the effect of sanitizers on septic systems.
Try the search box just below, or if you prefer, post a question or comment in the Comments box below and we will respond promptly.
Search the InspectApedia website
Note: appearance of your Comment below may be delayed: if your comment contains an image, photograph, web link, or text that looks to the software as if it might be a web link, your posting will appear after it has been approved by a moderator. Apologies for the delay.
Only one image can be added per comment but you can post as many comments, and therefore images, as you like.
You will not receive a notification when a response to your question has been posted.
Please bookmark this page to make it easy for you to check back for our response.
Our Comment Box is provided by Countable Web Productions countable.ca
Citations & References
In addition to any citations in the article above, a full list is available on request.
- [4] "Chemical tests for sodium hydrosulfite & sodium metabisulfite", web search 08.29/2011, wikipedia.
- [7] BioSafe Systems LLC, Robert Larose, President/CEO, Mailing Address: 22 Meadow Street, East Hartford, CT 06108, Toll-Free Phone: 1.888.273.3088 Web: biosafesystems.com/ Email: info@biosafesystems.com
- [12] North Dakota Standards for Water Softeners, North Dakota General Authority Law, Chapter 62-04-08, Water Softener Units http://www.legis.nd.gov/information/acdata/pdf/62-04-08.pdf. "The objective of this chapter is to provide a standard of quality, capacity, and performance for water softener units. Water softener performance is to be based upon referee tests procedures described in section 62-04-08-09."
- [16] Watts Industries of North Andover, Mass., provides its ZRO-4 under counter system intended to target the independent water dealer market.
- [17] Thanks to reader M.P. for discussing the requirement to adjust the float level in water softener brine tanks - January 2011
- [18] Thanks to reader M.P. for discussing using an "iron out" chemical to remove iron sediment that was clogging a water softener resin tank and causing poor water pressure - January 2011
- In addition to citations & references found in this article, see the research citations given at the end of the related articles found at our suggested
CONTINUE READING or RECOMMENDED ARTICLES.
- Carson, Dunlop & Associates Ltd., 120 Carlton Street Suite 407, Toronto ON M5A 4K2. Tel: (416) 964-9415 1-800-268-7070 Email: info@carsondunlop.com. Alan Carson is a past president of ASHI, the American Society of Home Inspectors.
Thanks to Alan Carson and Bob Dunlop, for permission for InspectAPedia to use text excerpts from The HOME REFERENCE BOOK - the Encyclopedia of Homes and to use illustrations from The ILLUSTRATED HOME .
Carson Dunlop Associates provides extensive home inspection education and report writing material. In gratitude we provide links to tsome Carson Dunlop Associates products and services.
 | HOME | ABOUT | ASK a QUESTION | CONTACT | CONTENT USE POLICY | DESCRIPTION | POLICIES | PRIVACY | |
| © 2024 - 1985 Publisher InspectApedia.com - Daniel Friedman | |||||||||